Lantian LT105 brushed quadcopter build review
I have decided to make my own custom version of the Lantian LT105 micro brushed FPV quadcopter. So I have gathered the required parts and started the build.
Parts list
Frame: Lantian LT105 frame kit – $6.39
Motors: Chaoli 8x20mm brushed motors – $12.56. Other options: Racerstar 8.5x20mm 53500RPM Coreless Motor – $13.99
FC: SP Racing F3 brushed flight controller -$10.91
Receiver: iRangeX tiny flysky receiver – $4.13. Other options: Flysky FS82 AFHDS 2A Receiver – $7.69, Frsky D8 micro receiver -$8.69
Battery: Eachine 1S 600mAh 50C – $4.99. Other options: XF Power 1S 600mAh 30C – $4.49
Propeller JJRC JJPRO-T1 propellers (these are copy of Walkera Ladybird props) – $0.92
_________________________
Total cost w/o camera/vtx: $39.90
Also I have used 1.25mm mini JST connector sets (also called PicoBlade or Losi MX connectors) for easy motor plugging and camera power cable, supplied with camera set.
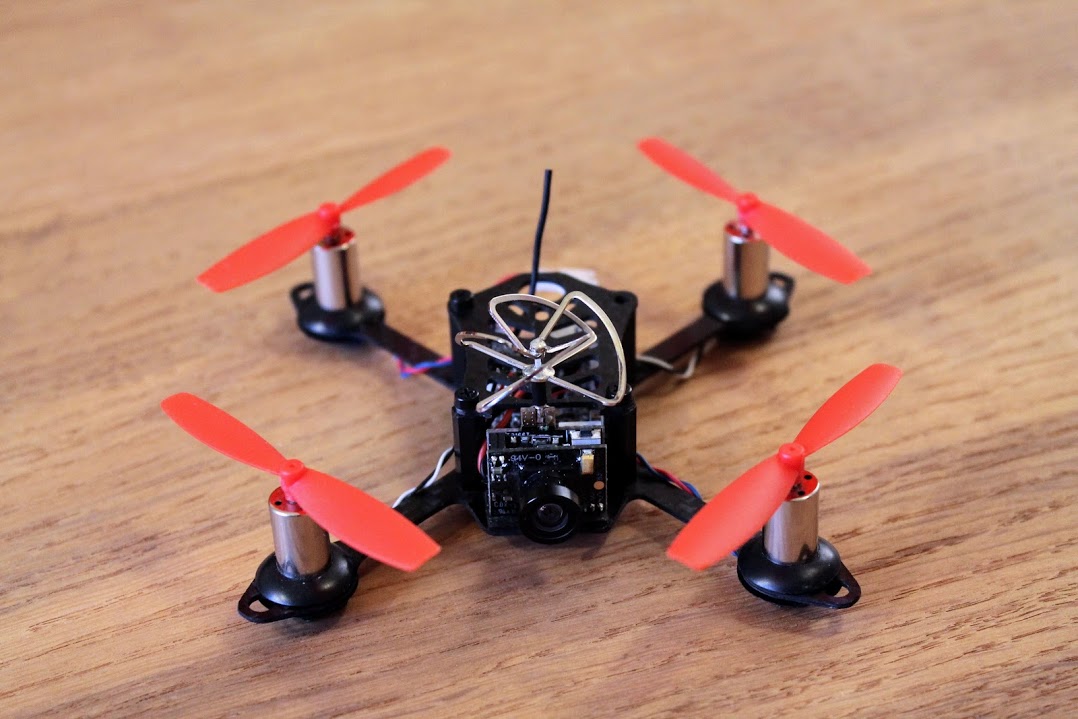
FPV All-in-One camera TX01 NTSC – $20.99 or All-in-One camera TX01 PAL – $20.99 (choose whichever you like most)
Total cost: $60.89
You can get pre-build version of this brushed quadcopter for around $60, but you’ll loose the joy of building and our part list is better – better motors, battery, etc.
Build
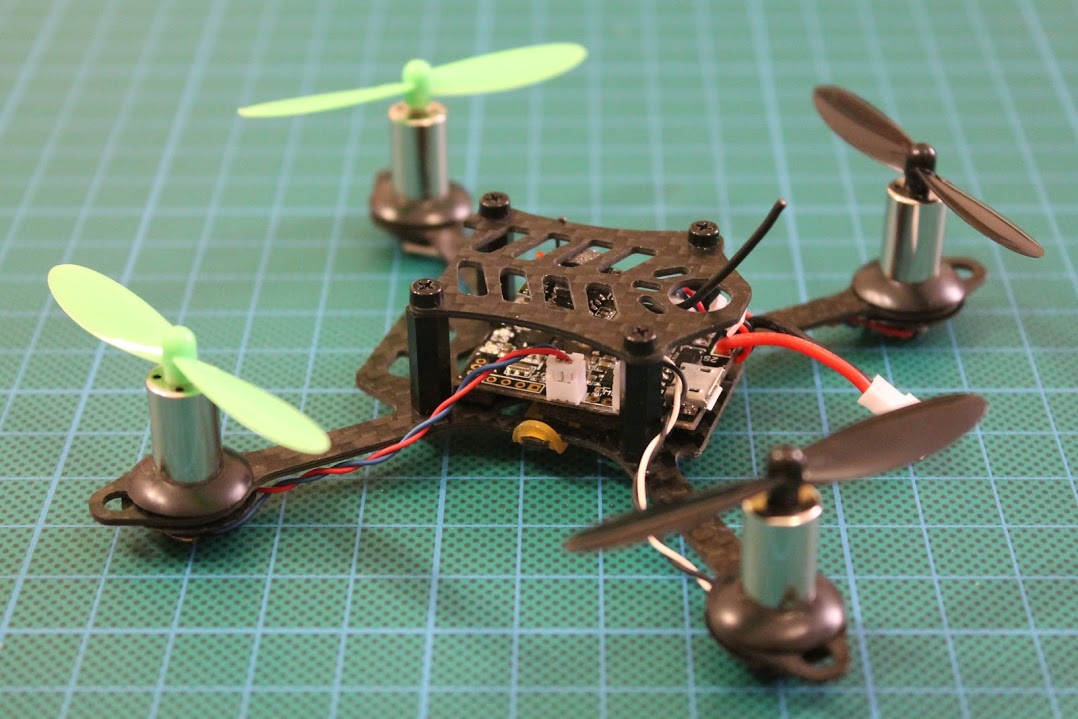
Lets take a look at the parts closely. Lantian LT105 frame kit includes: base plate. top plate, rubber grommets, nylon 2mm sized standoffs, nylon 2mm screws, rubber rings and stickers (who knows the right meaning for the M1, M2, M3, M4 ? put a comment below)
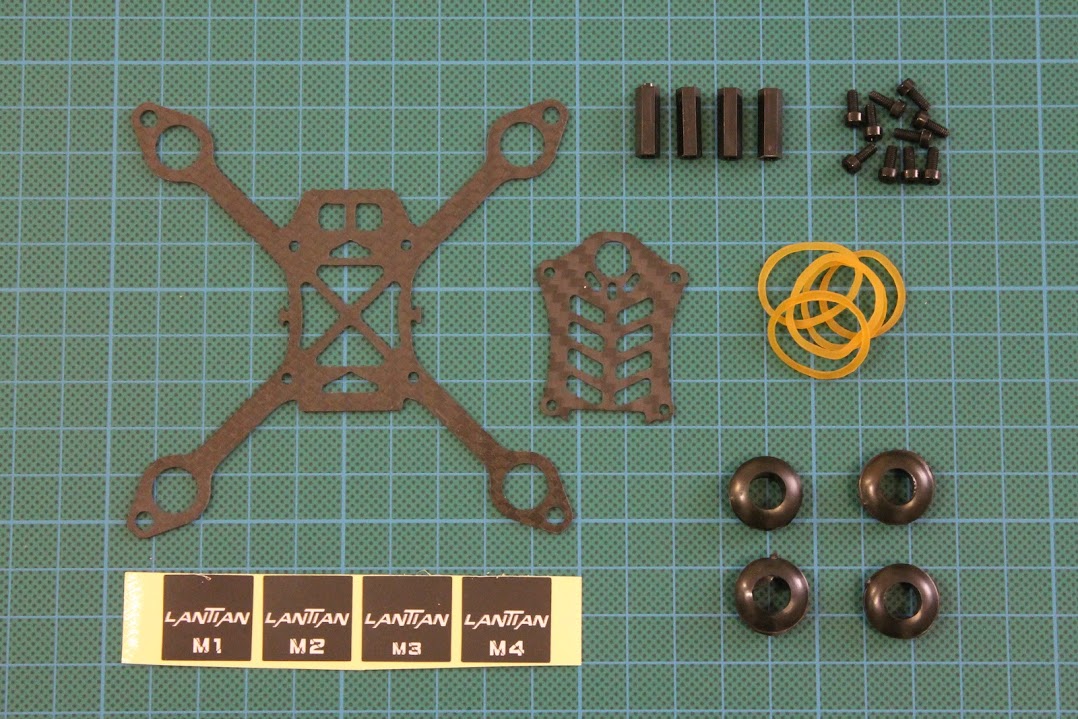
Main frame plate thickness is 1mm. Upper plate is also 1mm thick.
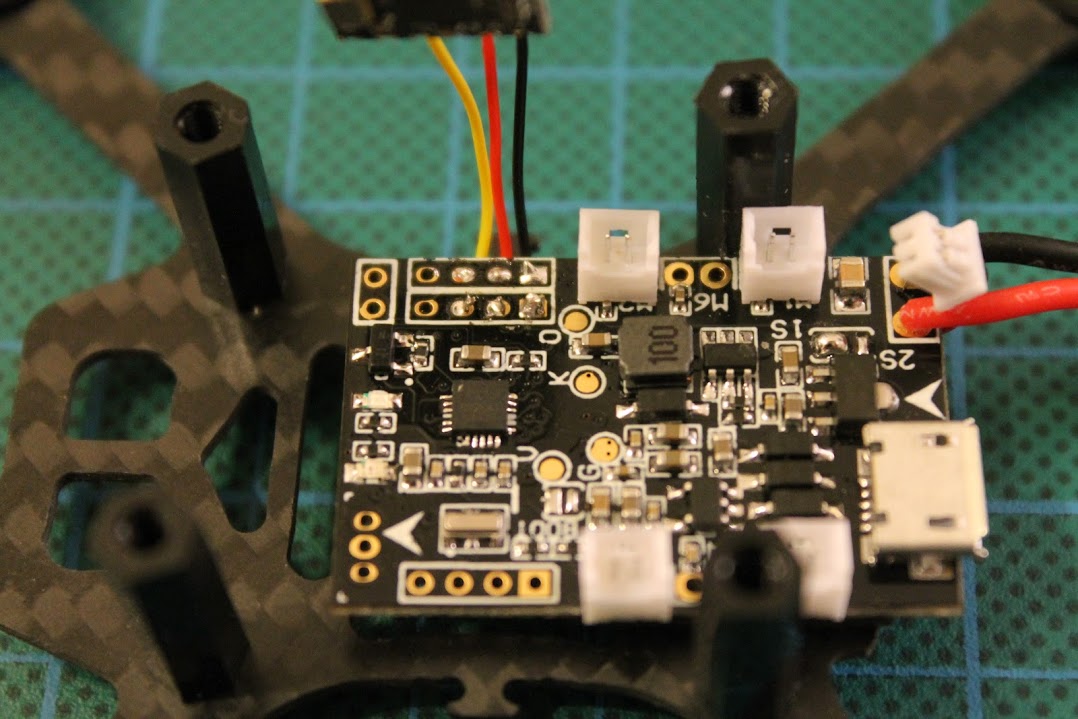
F3 flight Controller is equipped with STM32 F3 microcontroller and has powerful FETS for brushed motors. This board even has 3UART(!) ports
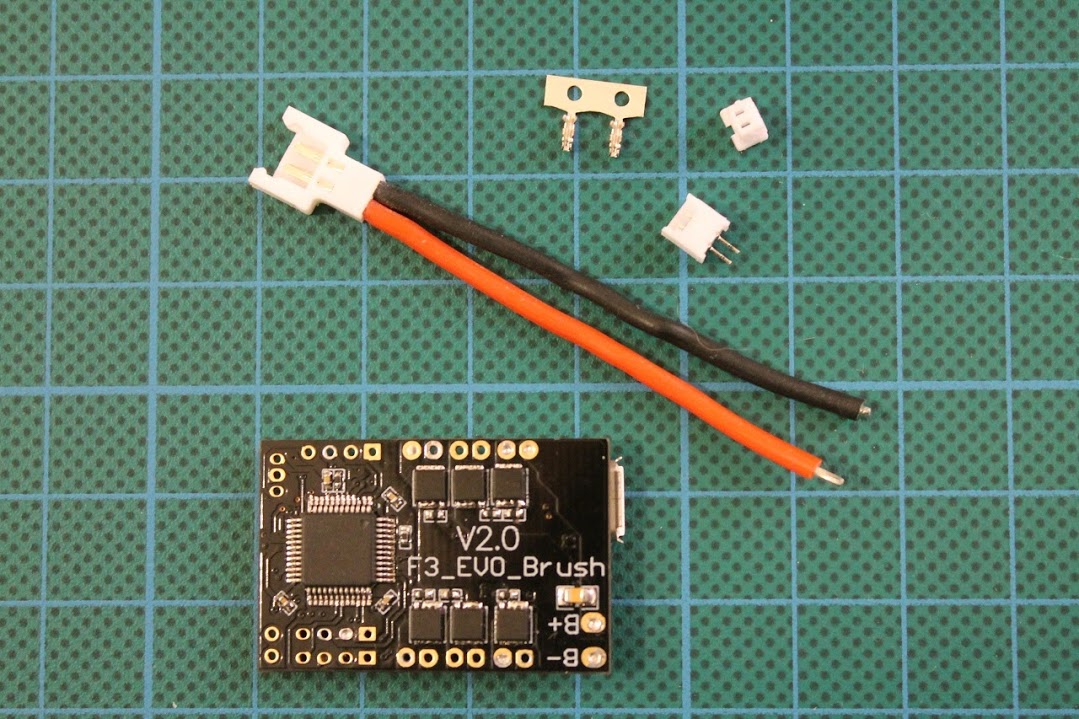
The power cable, included with flight controller is very thick and not flexible and also wights a lot. I suggest to order this 1to5 micro losi parallel charging cable. You will have 5 pigtails with soft silicone cables that are light and flexible.
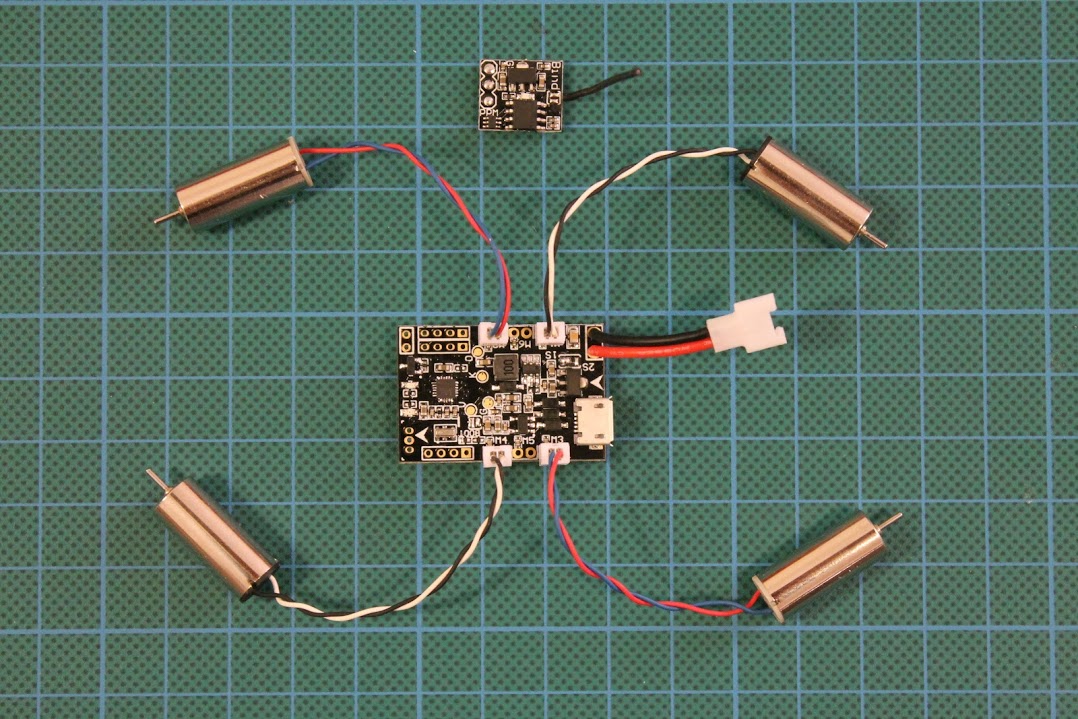
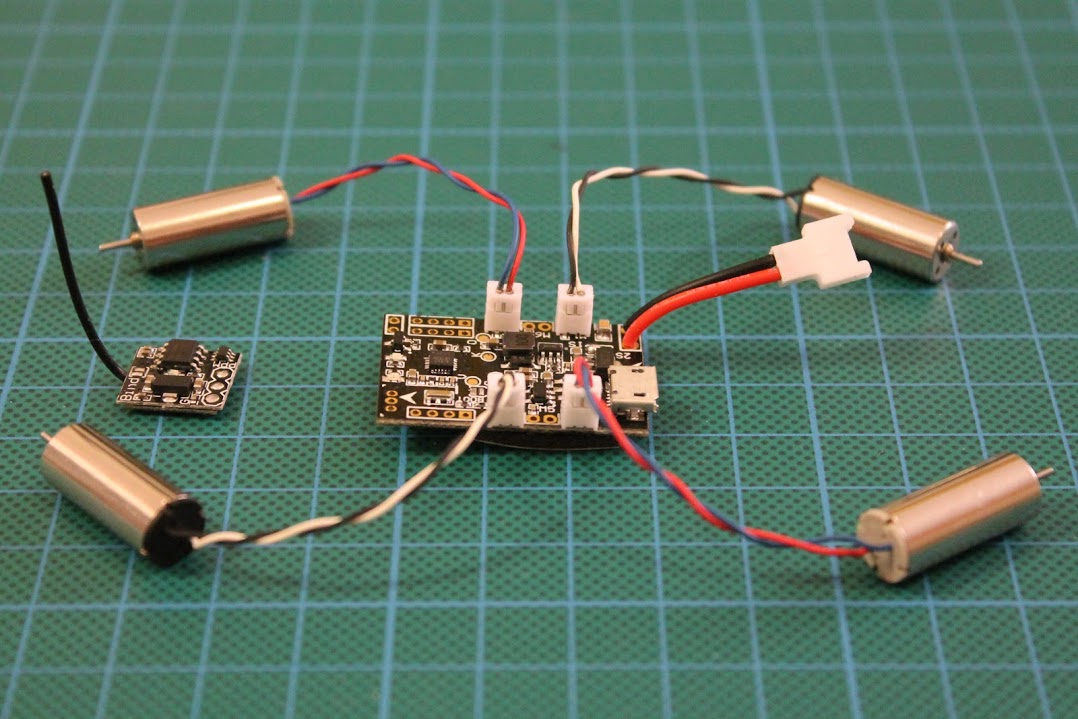
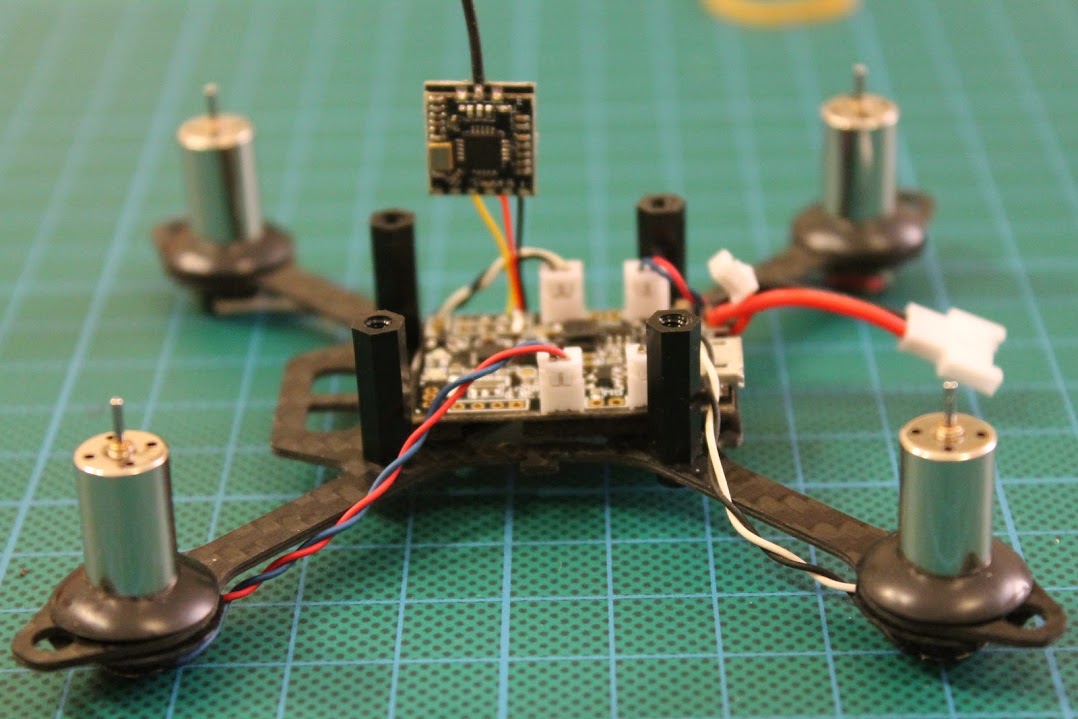
2 Clockwise and 2 Counter Clockwise rotation 8.5mmx20mm motors. These motors actualy were bought on eBay for $5.
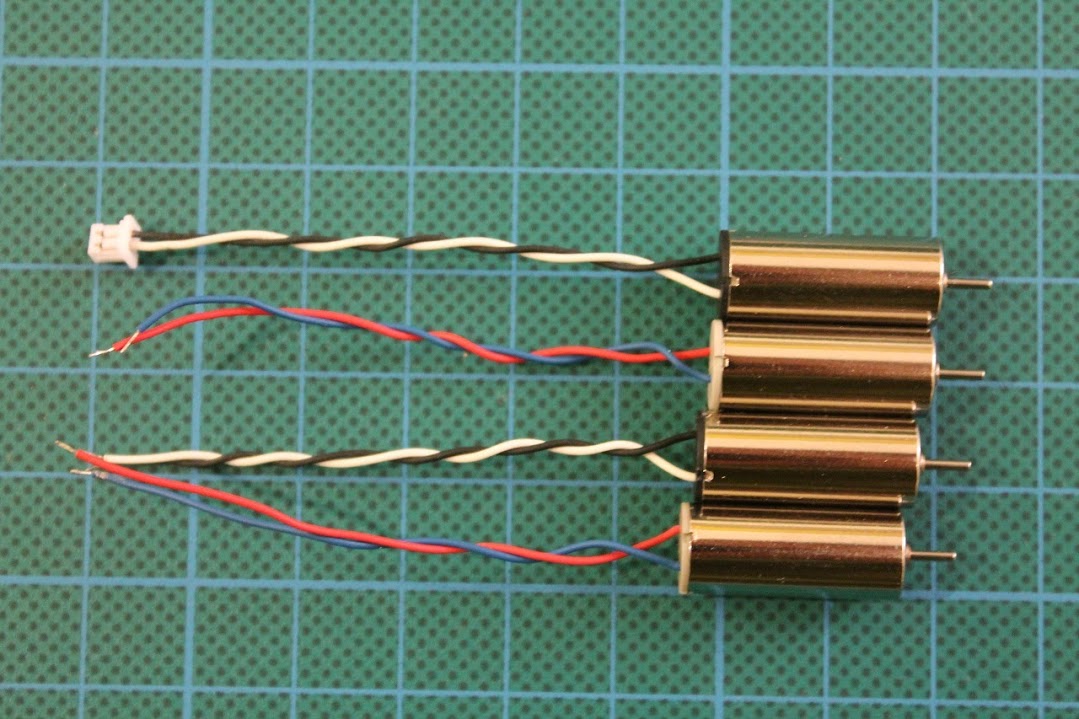
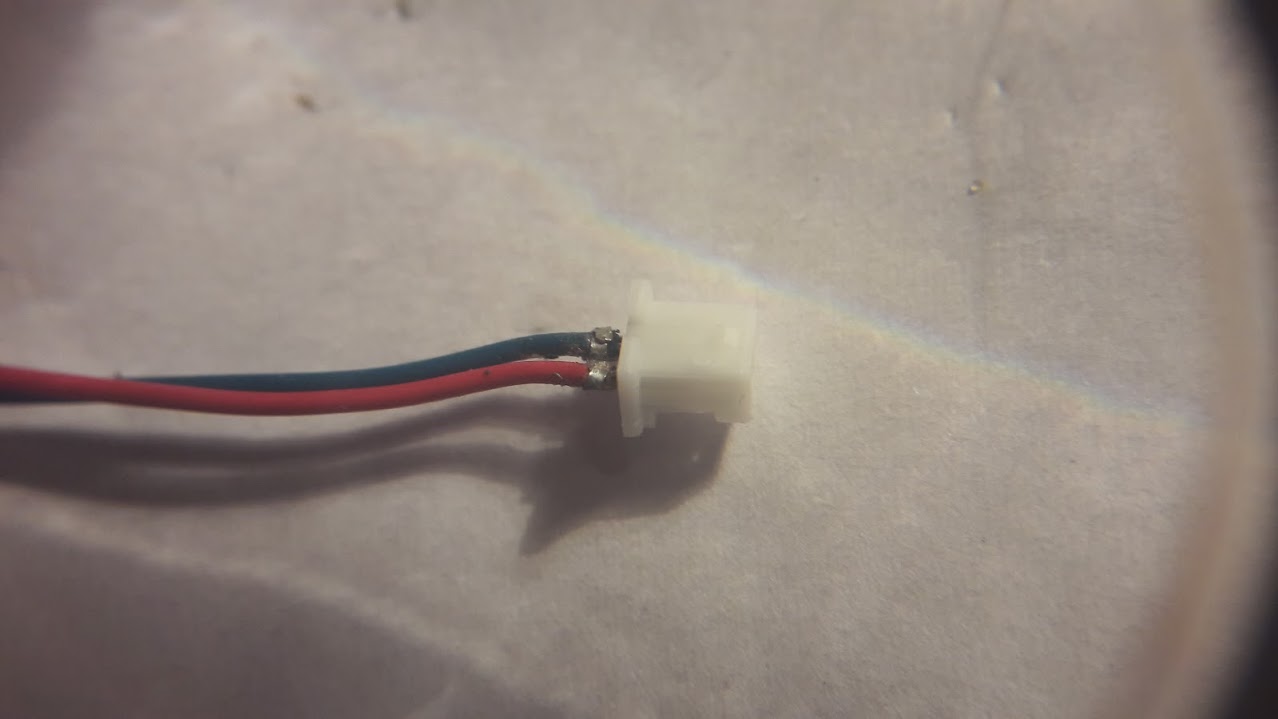
As these motors came with lose wires, I have decided to solder Micro JST 1.25 plugs for easy motor changing on the field. These brushed motors have relatively short lifespan, so you will definitely have one of them broken in the middle of the flight. If your motor is soldered to the FC, then it is really hard to fix it on field, but if it is only a matter of unpluging old one and plugging ne one, then your day will be saved.
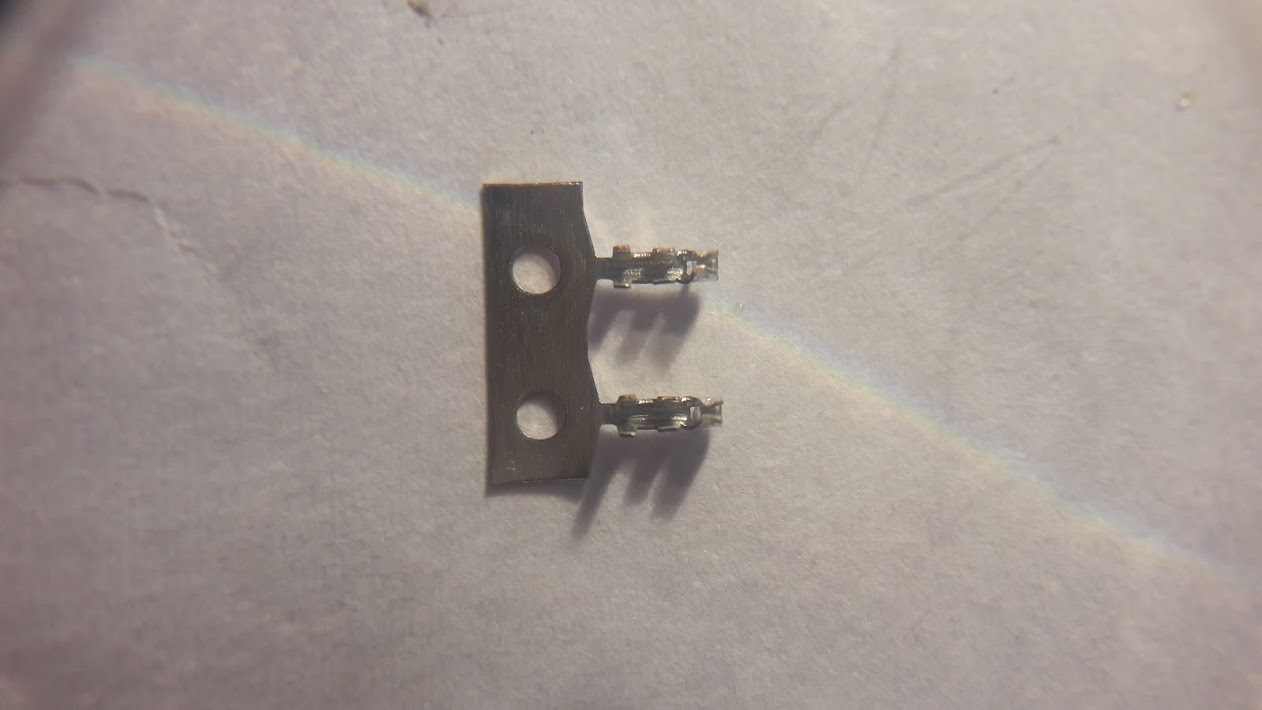
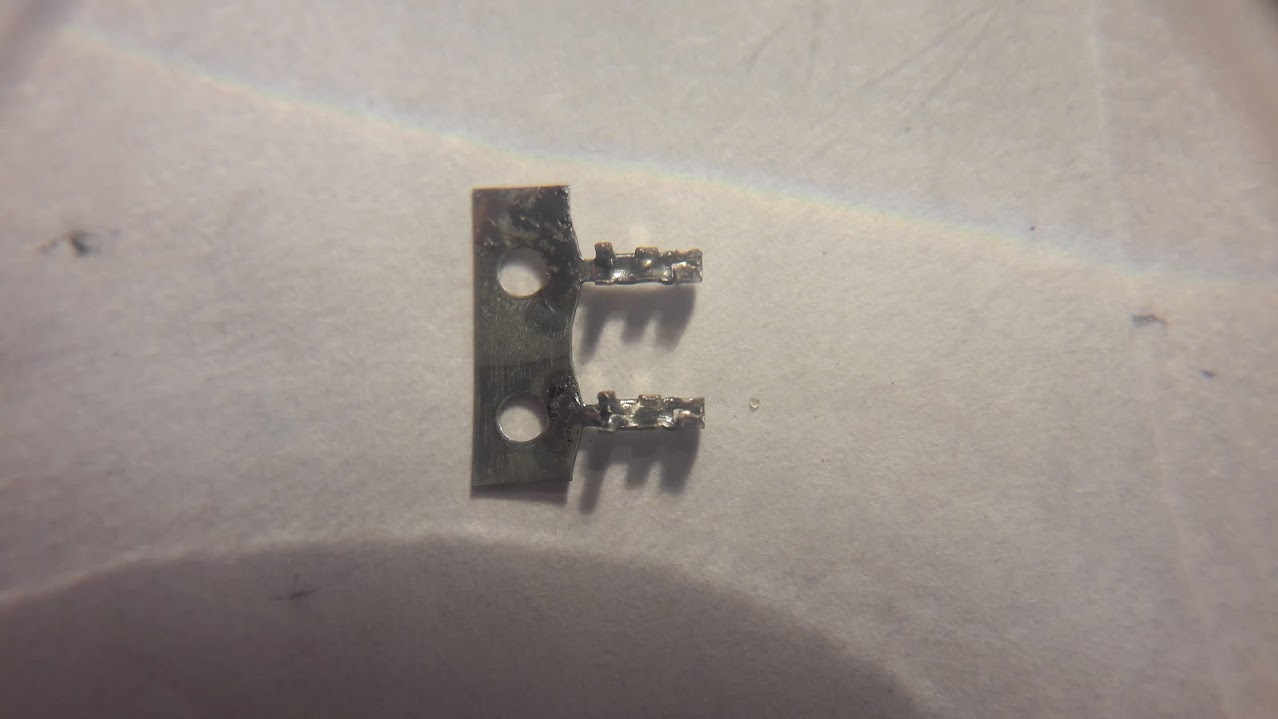
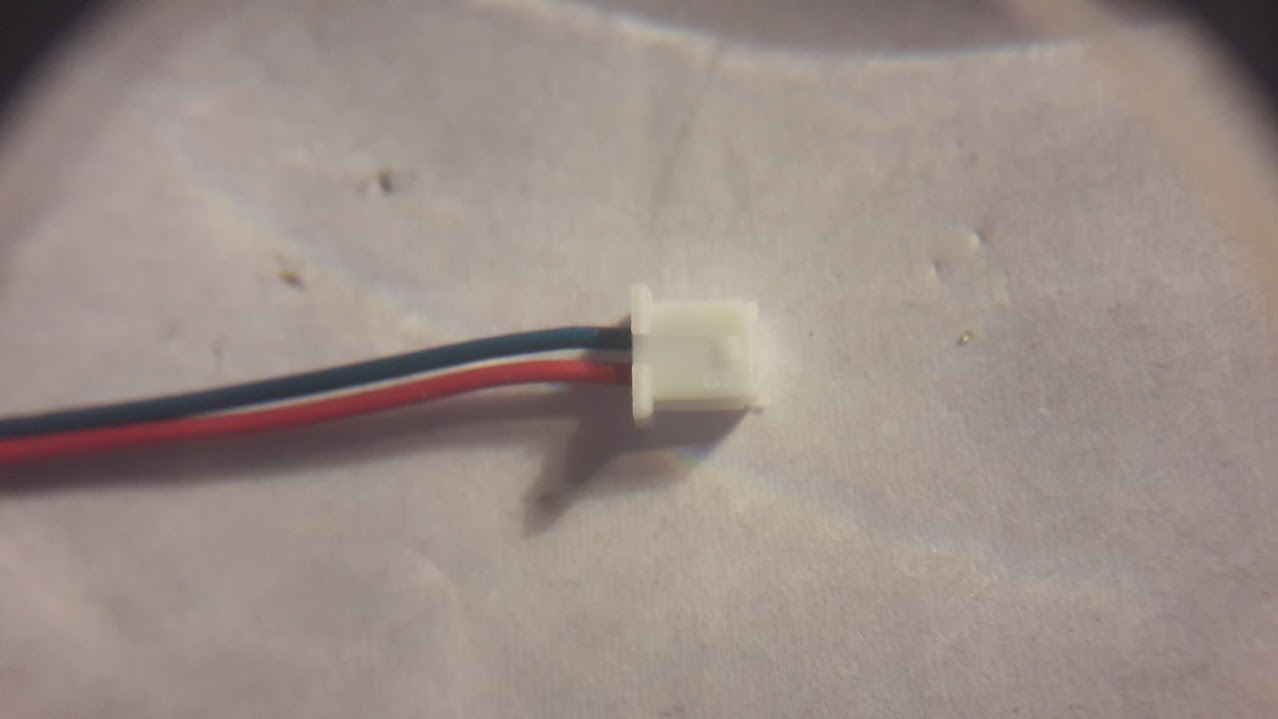
How to solder motor wires to these micro connectors: I aplly very small amount of the solder with flux to the terminals, then solder stripped pre-tinned motor wires to the terminals. Use small pliers to fixate the wire by two brackets. Insert the soldered terminals into plastic connector and use some tool to push the terminals into the connector.
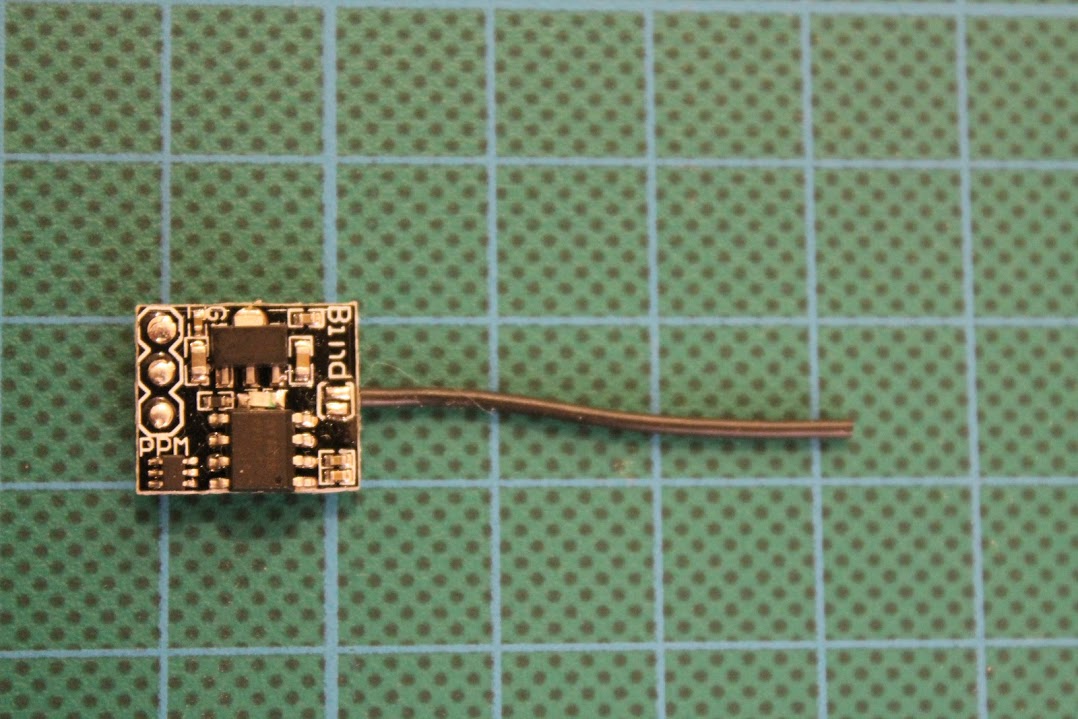
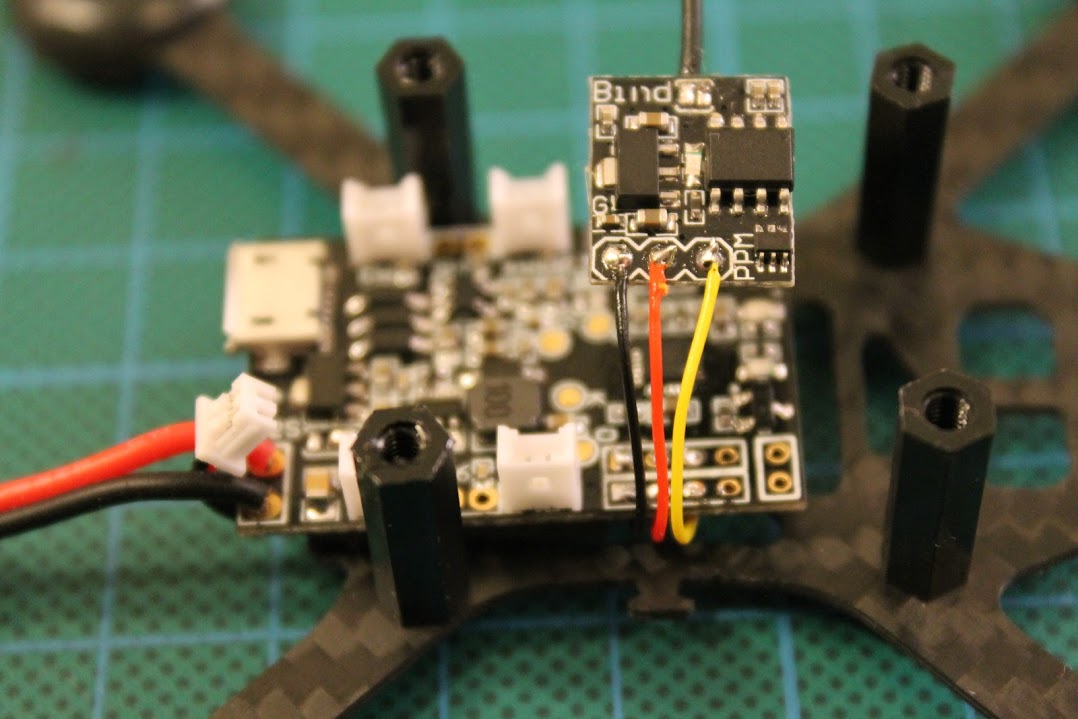
Next part is super small Flysky receiver. This particular receiver is not for sale anymore (for some unknown reasons), but the direct substitute is this iRangeX receiver.
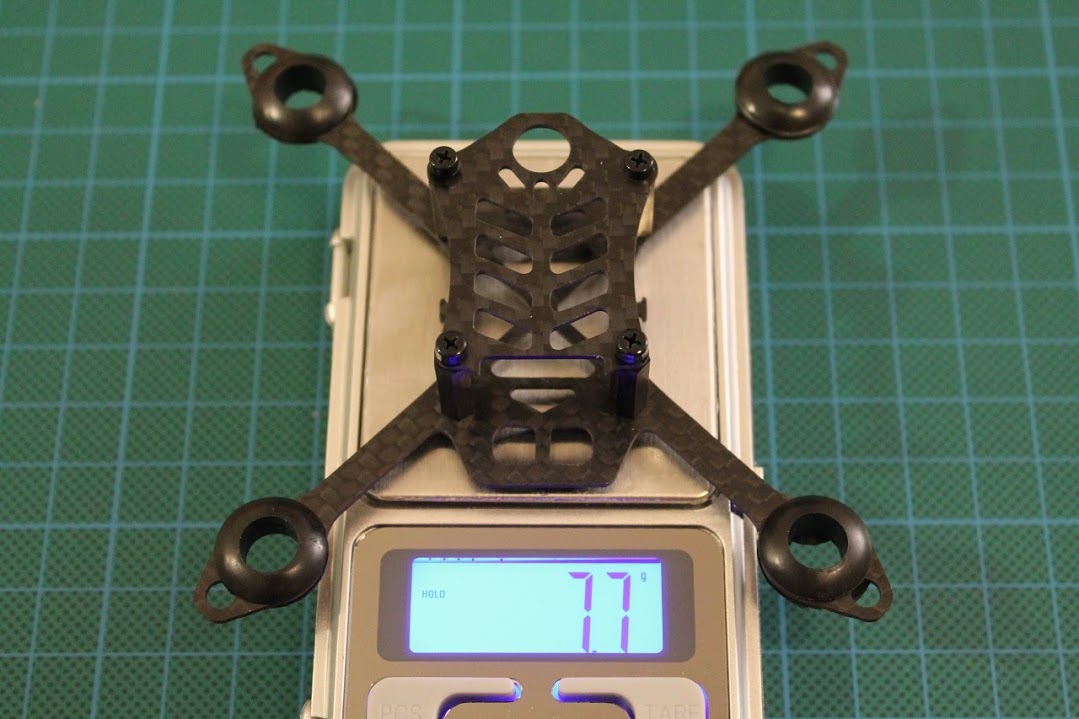
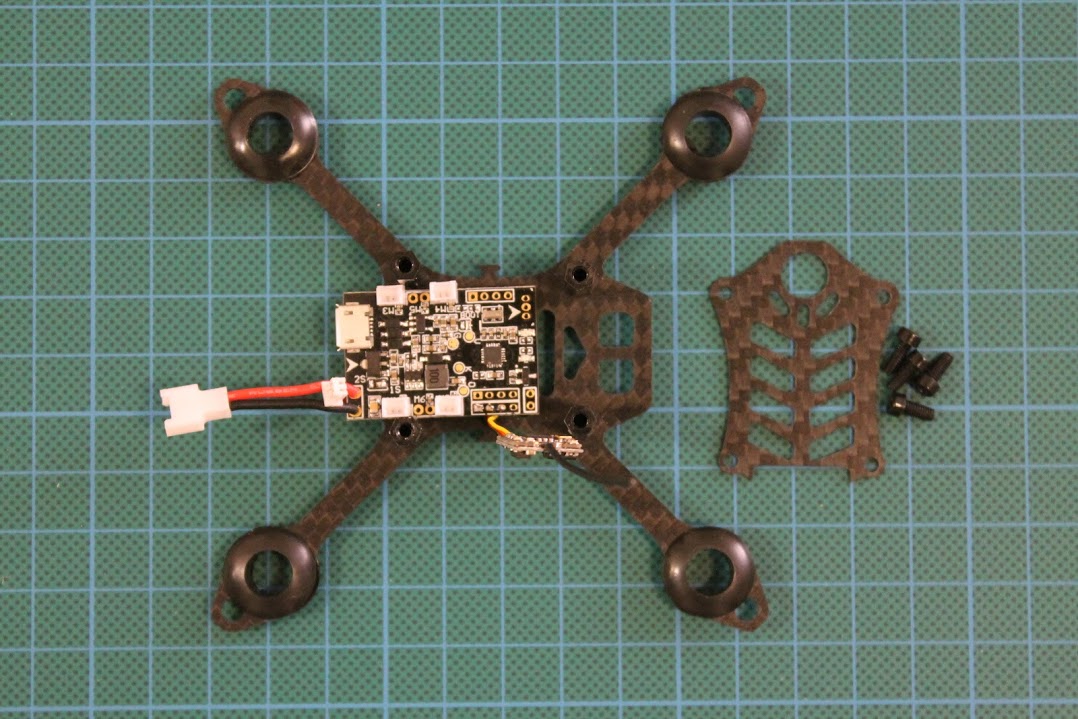
The assembled frame weights only 7.7 grams.
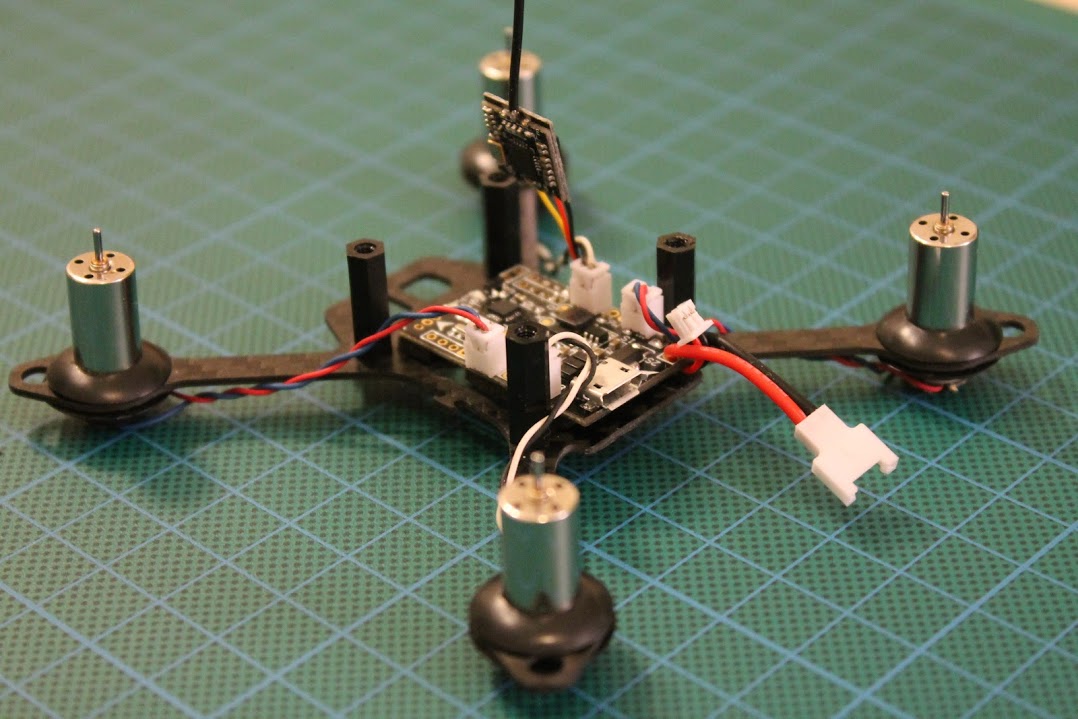
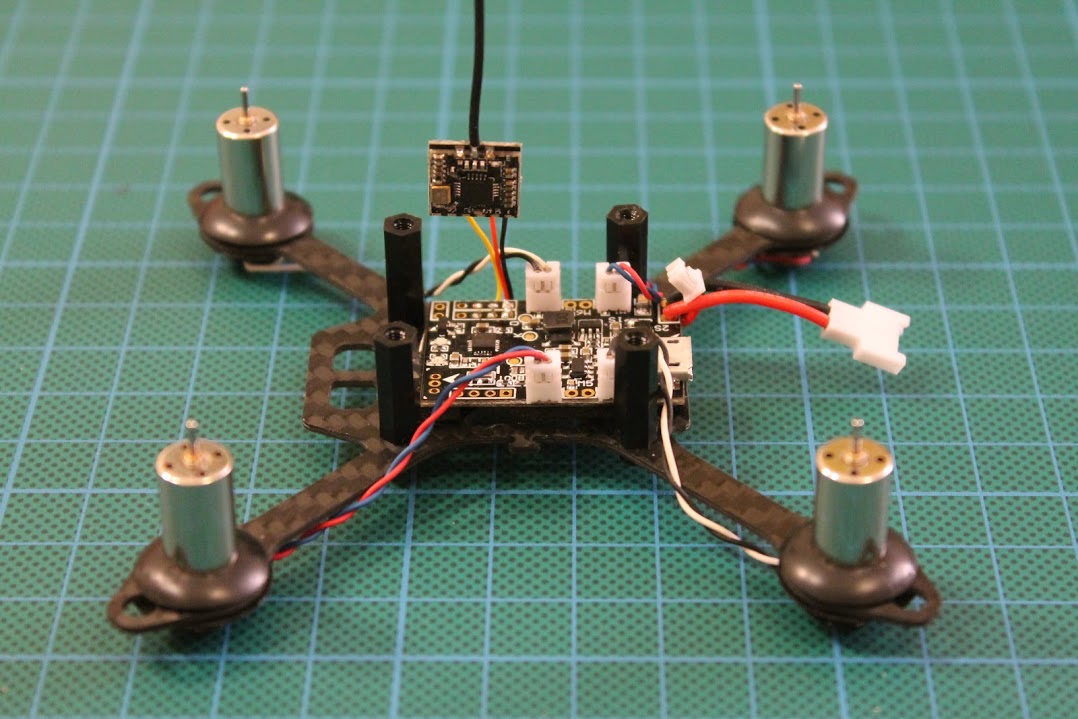
Solder mini-JST sockets to the board, battery cable with micro Losi connector. The right motors configuration shown below.
Attach the fight controller with double sidded tape to the frame.
Oh by the way I have already soldered the FlySky receiver to the FC
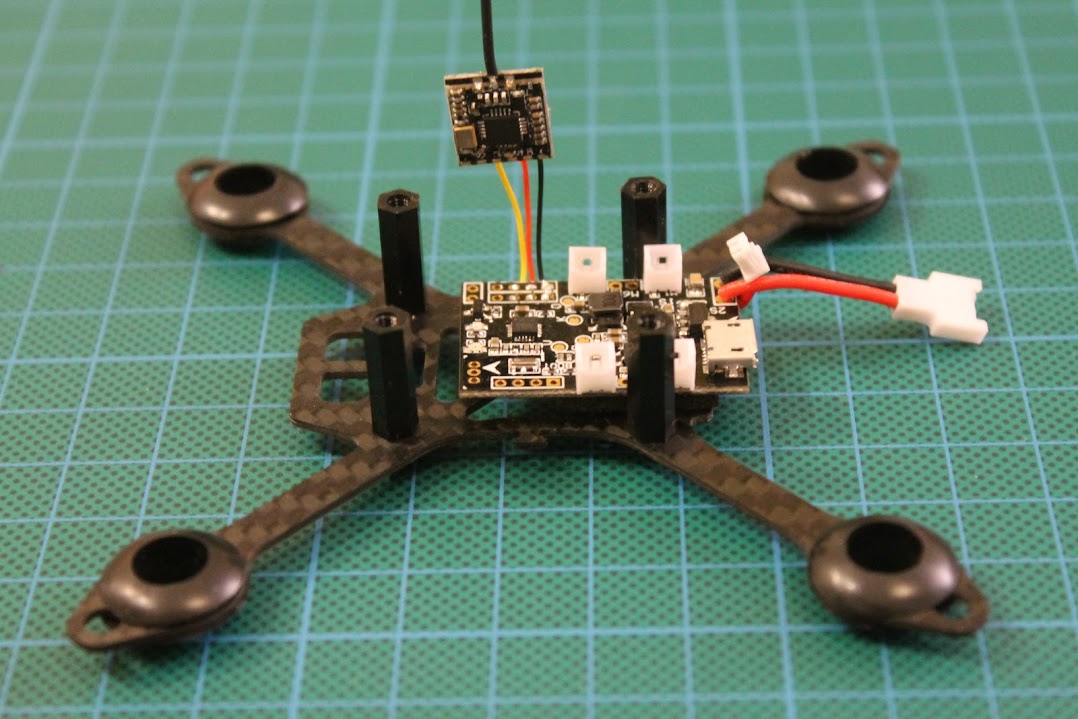
Closeup pictures:
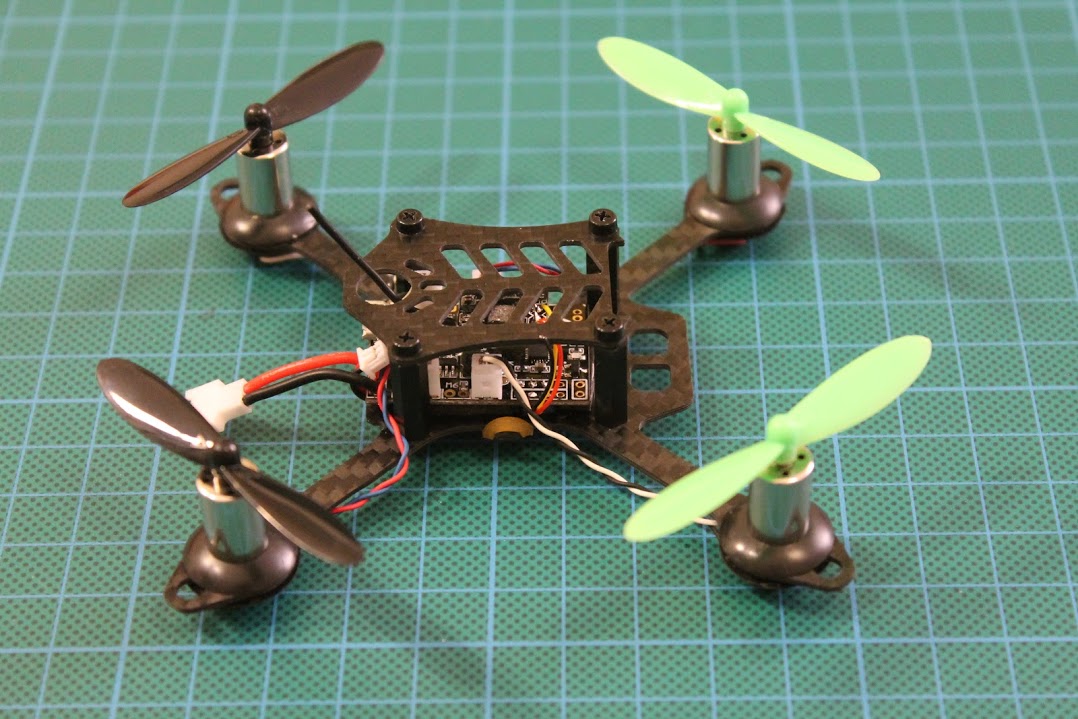
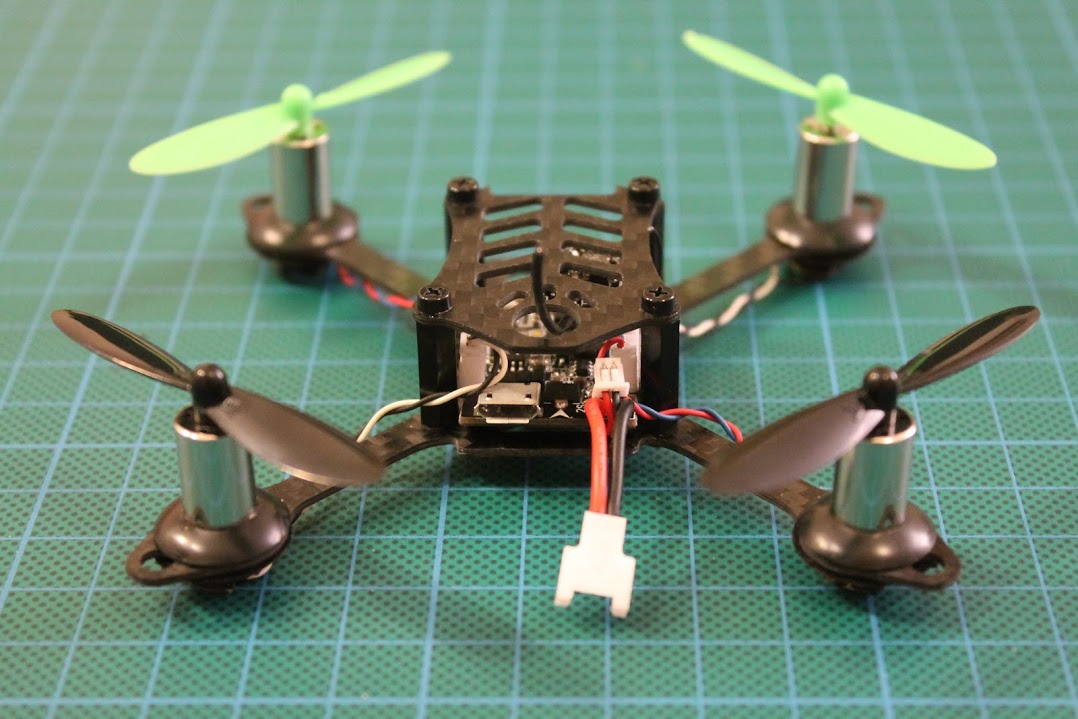
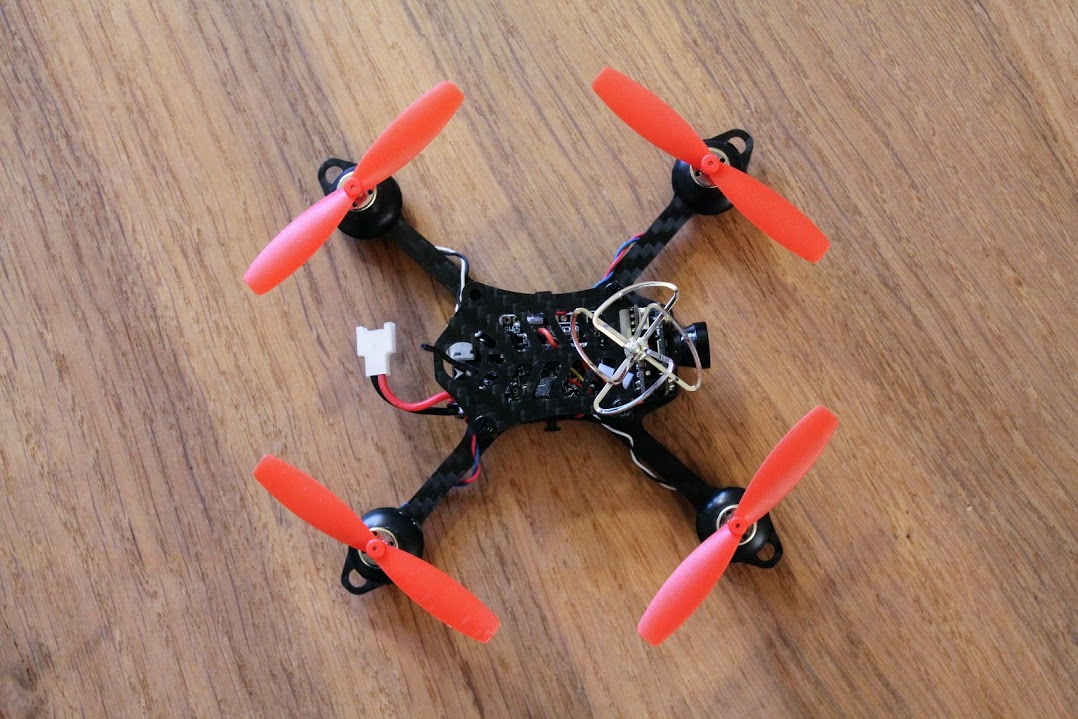
Now install the motors into rubber grommets.
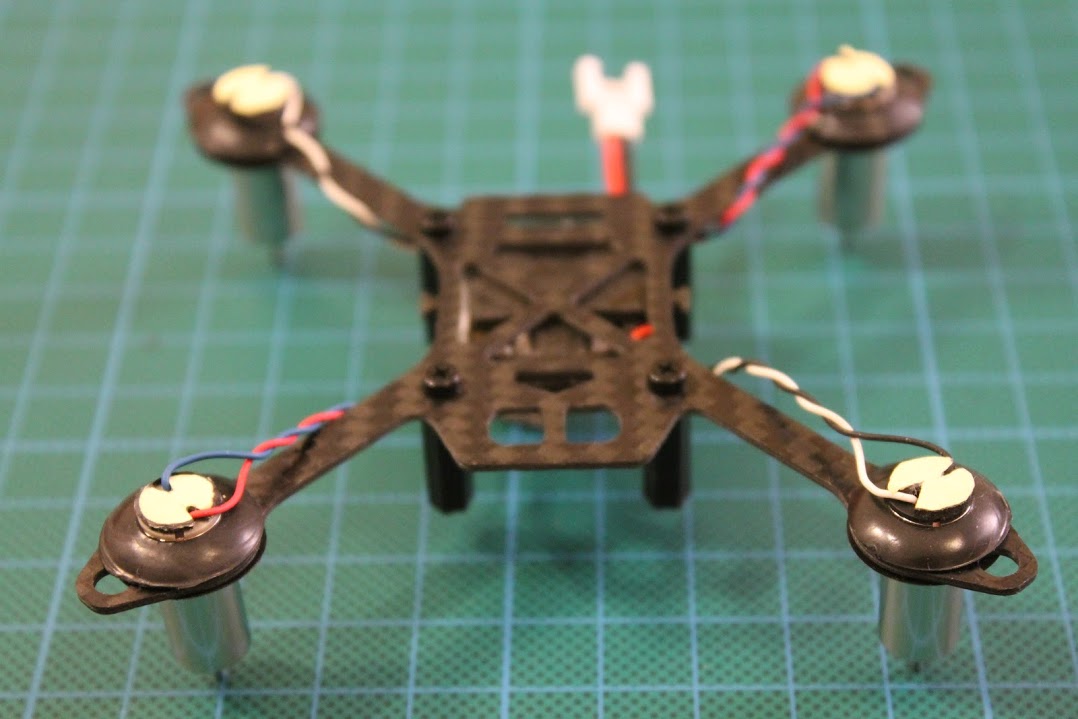
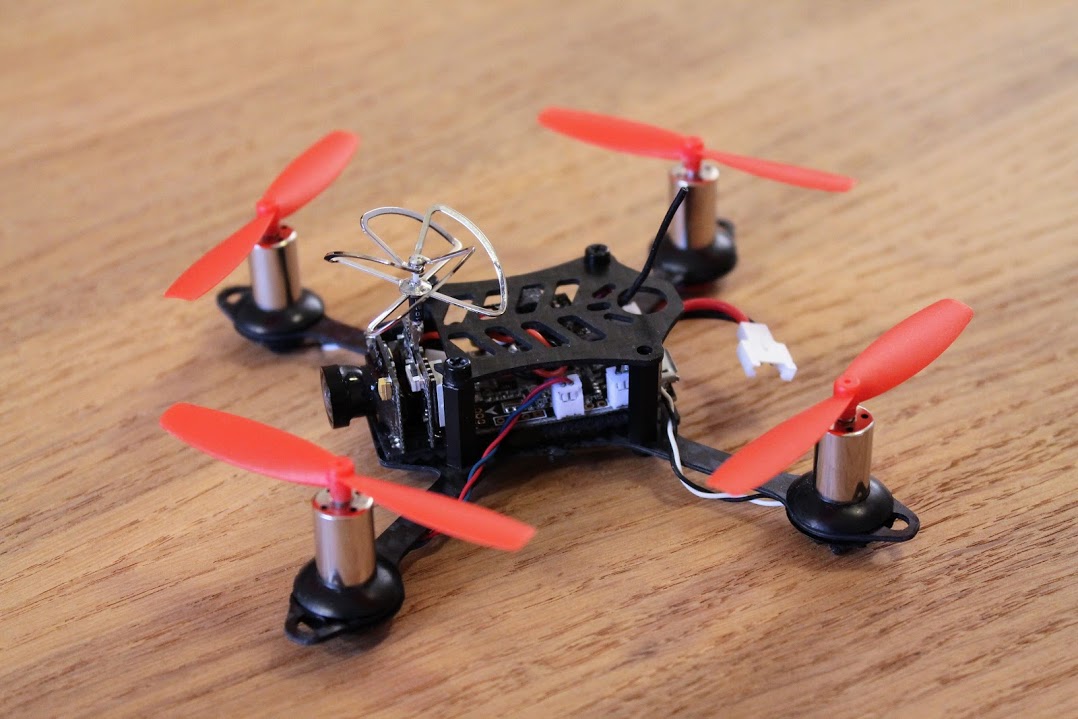
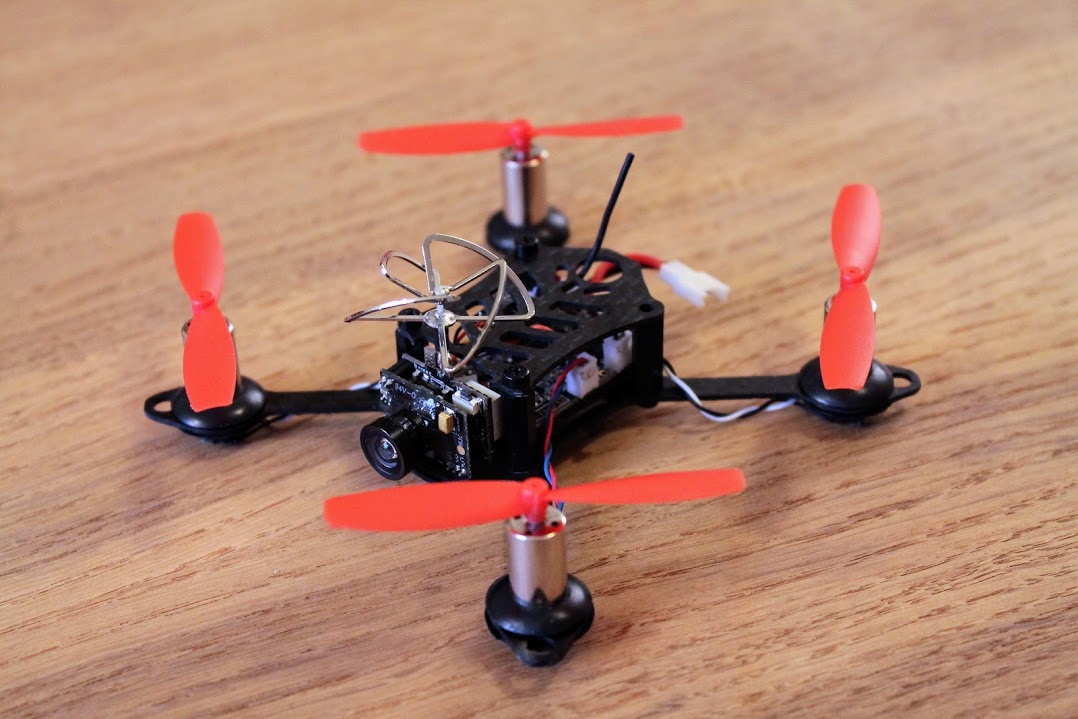
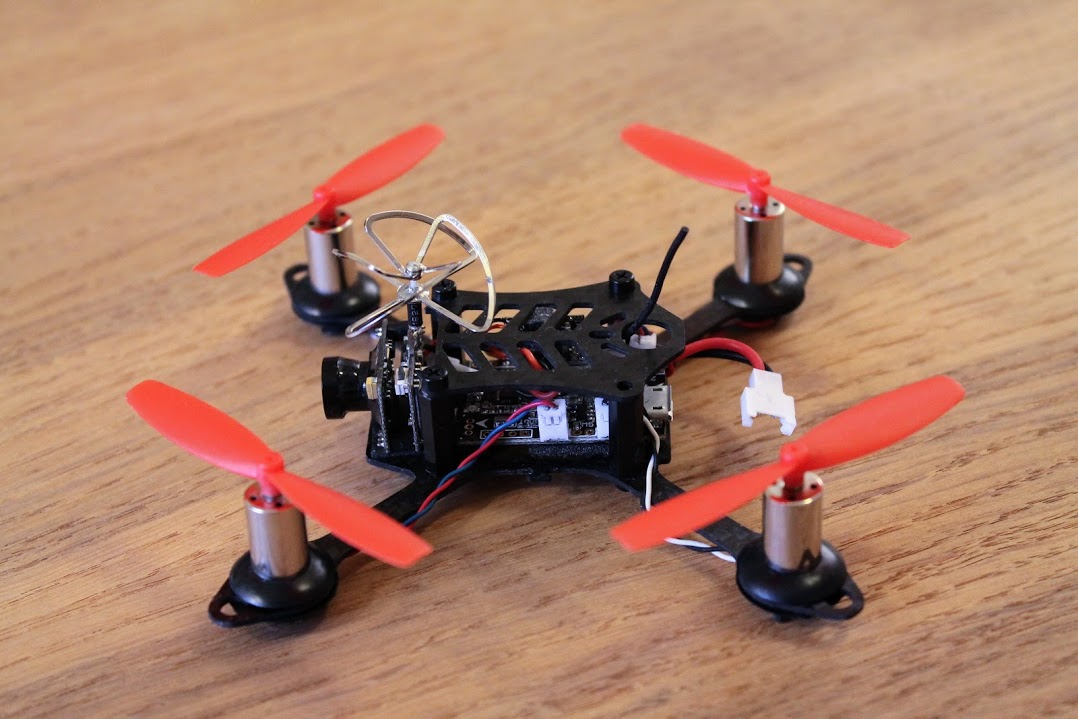
The final result (without FPV equipment):
[To be continued]
Updated 2017-07-07
-
 DIY ExpressLRS Transmitter and Receiver
ExpressLRS is gaining the popularity rapidly. There is a number of well known brands
DIY ExpressLRS Transmitter and Receiver
ExpressLRS is gaining the popularity rapidly. There is a number of well known brands -
 Diatone GTB229/239 quadcopter DIY build review
I felt in love with the Diatone GTB frame design the first time I saw
Diatone GTB229/239 quadcopter DIY build review
I felt in love with the Diatone GTB frame design the first time I saw
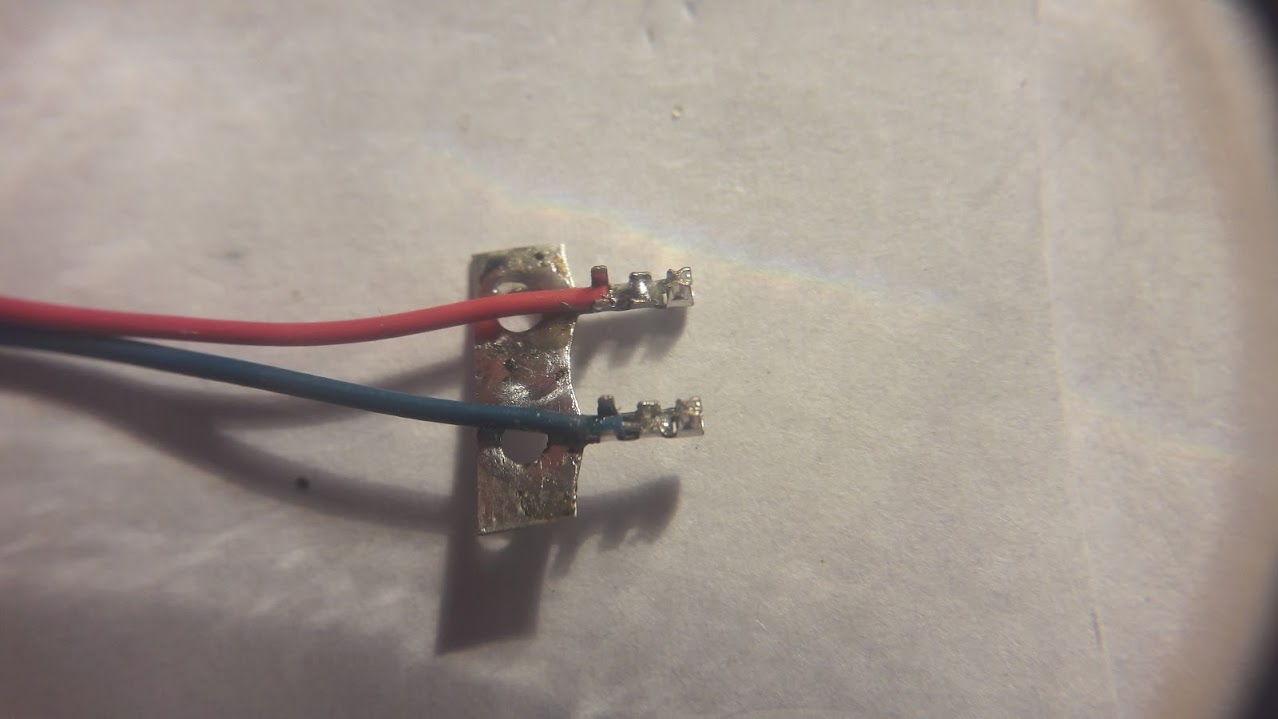
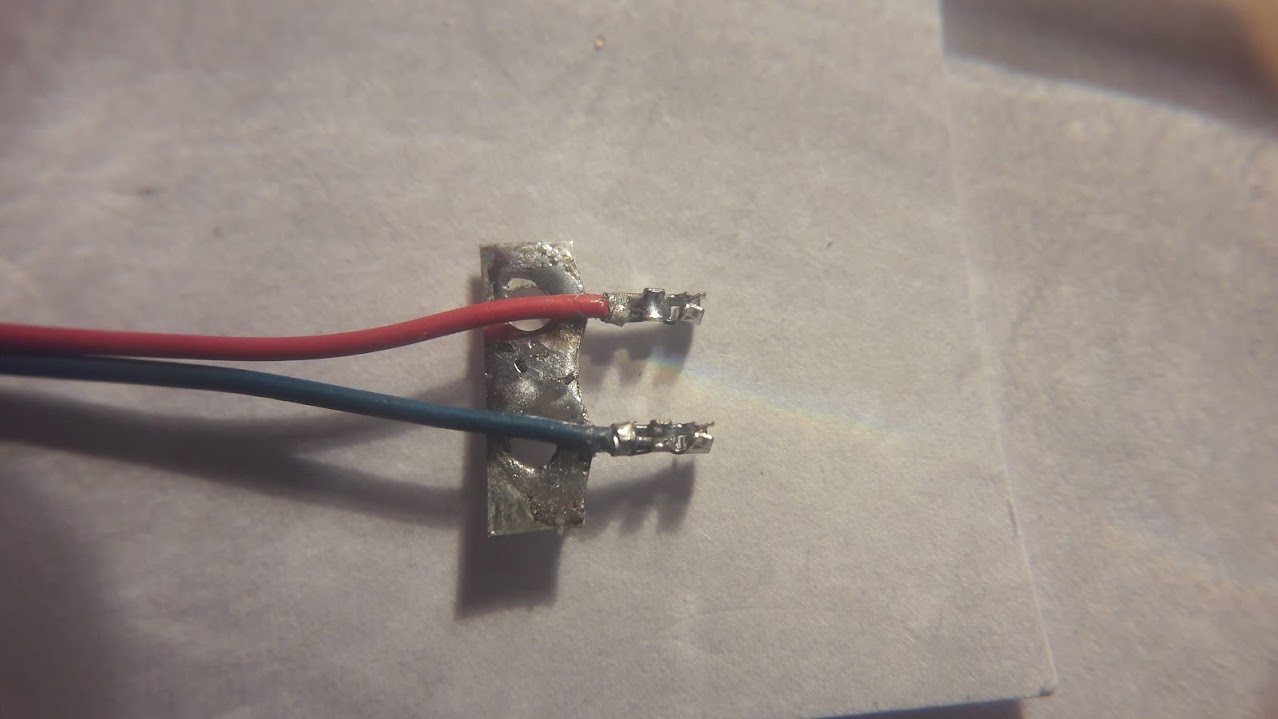
Those motor connectors are a great idea until you have to solder the male connectors to the motor wires. Nearly impossible!
Thanks for your comment! I do agree that it is really difficult to solder those tiny connectors, but it is doable! I have added some photos to illustrate this process specially for you!
This frame is my favourite so far. It flies great even with stock Cleanflight PID’s!
Hi Montis…. I realise that this goes back a long way, but you mentioned at the end of this post that you were planning to continue the build review. Any chance that you will be posting a “Part 2″… as the first one is very useful?
Thanks
Simon
Thanks for your comment! This build was made more than 6 years ago! I never thought that someone would be still reading it in the year 2023! That Lantian LT105 brushed quadcopter was really good flyer back in those days. Never finished the writing and probably will stay in that state. The build review lacks the FPV setup, but it is pretty straightforward as it uses Eachine TX01 All-in-One camera, however i would use Eachine TX06 nowadays as it is better, lighter, cheaper.